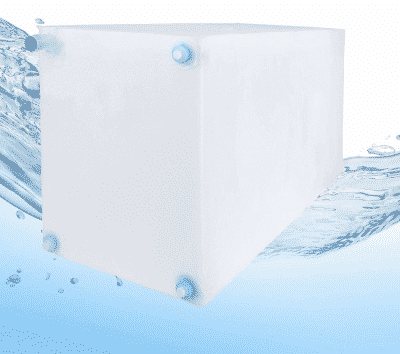
 Making sure your fresh water system, including your fresh water holding tank, water lines, and faucets is imperative to ensuring your overall health.
This is because, when you fill up your tanks, or hook up to an unknown water source, you could be introducing bugs or pathogens into your water system. Now, before you run to the store to buy bleach, you should know that most city water is safe to drink and use as it has been properly treated by the city or town you are staying.
But if you are on well water, for example, or traveling from campground to campground, and from RV park to RV park, you may pick up something along the way.
This tutorial is designed to help ensure that your fresh water system stays clean.
All you need to do this is some household bleach and fresh water.
The best way to start this is to ensure you have a nearly full tank of fresh water. You will NOT Be using your city water service for this. It must all be done within your on-board water tank, so make sure to disconnect your hose and turn your water pump on.
You will also want to make sure your water heater is off, and cool and that the water coming from your hot water tap is room temperature, or the same temperature as the water running from your cold tap.
Step 1: Dilute 1/4 cup of household bleach for each 15 gallons of tank capacity in to a gallon of water.
Step 2: Add the chlorine/water solution to the water tank. Never pour straight bleach into the RV fresh water tank. You can add the solution through the same inlet you used to fill your water tank. For example, fill a 5 gallon jug with the solution and carefully pour it into the water inlet.
Step 3: Once the solution is added turn on your water pump, and using one faucet at a time, let the chlorinated water run through for one or two minutes. You should be able to smell the chlorine. Be sure to run both the hot and cold taps for each faucet in your kitchen and bathroom(s). Don’t forget the shower and/or bathtub. Some people even disconnect their washing machine (if they have them) and run the taps there, as well as the outdoor shower, if you have one.
Step 4: Once you’ve turned on each hot and cold tap for a couple minutes, it’s time to top off the RV fresh water tank with more fresh water and let stand for at least three hours. If you can, it’s best to let it stand overnight.
Step 5: In a few hours, or the next day, completely drain the system by turning on and flushing each tap on every faucet for several minutes each.
Step 6: Open the fresh water tank drain valve to empty your fresh water tank. You will also want to drain your hot water tank (by removing the drain plug) and drain until it is empty.
Step 7: When all the water is drained, and there is nothing coming from any of the faucets or water tank, close all valves and faucets and drain plugs and turn off your water pump.
Step 8: Fill the water tank with fresh water.
Step 9: Flush each faucet for several minutes each repeating until the tank is again empty. Again, make sure you are using the water pump and not an external water supply.
Fill the tank again. The water should now be safe to drink but if the chlorine odor is too strong you can repeat the fresh water flush as many times as necessary to remove that smell.
Your RV fresh water system should now be safe for use.

